Deploying Swagger Documentation on Railway

The first article in this series showed how to design swagger documentation using Nodejs. This second article will focus on deploying your Node.js application and documentation to Railway.
Prerequisites
- Railway-Cli
- Railway
- Node.js
You can take the following steps to deploy your application and swagger documentation to Railway:
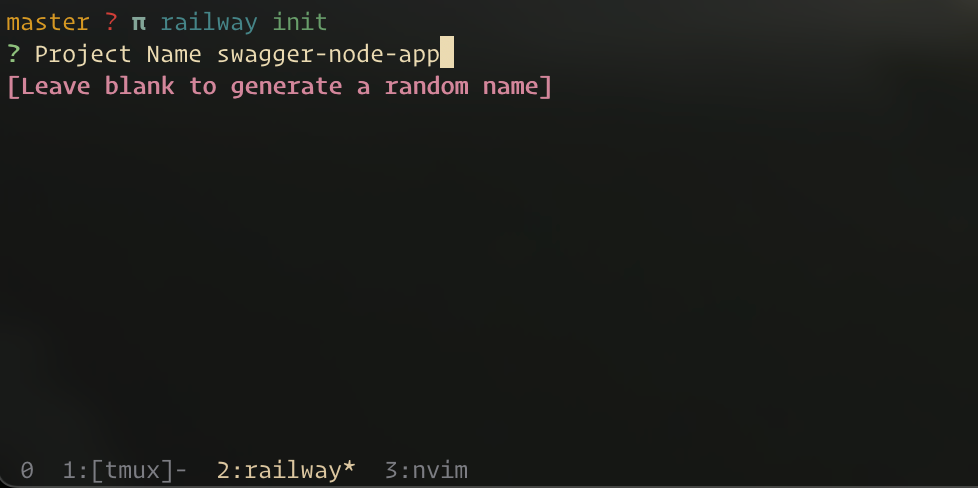
1. Initialize Railway
You can initialize railway in your application root folder by running railway init. This command is used by Railway to configure your application and set it up. For a Node.js application
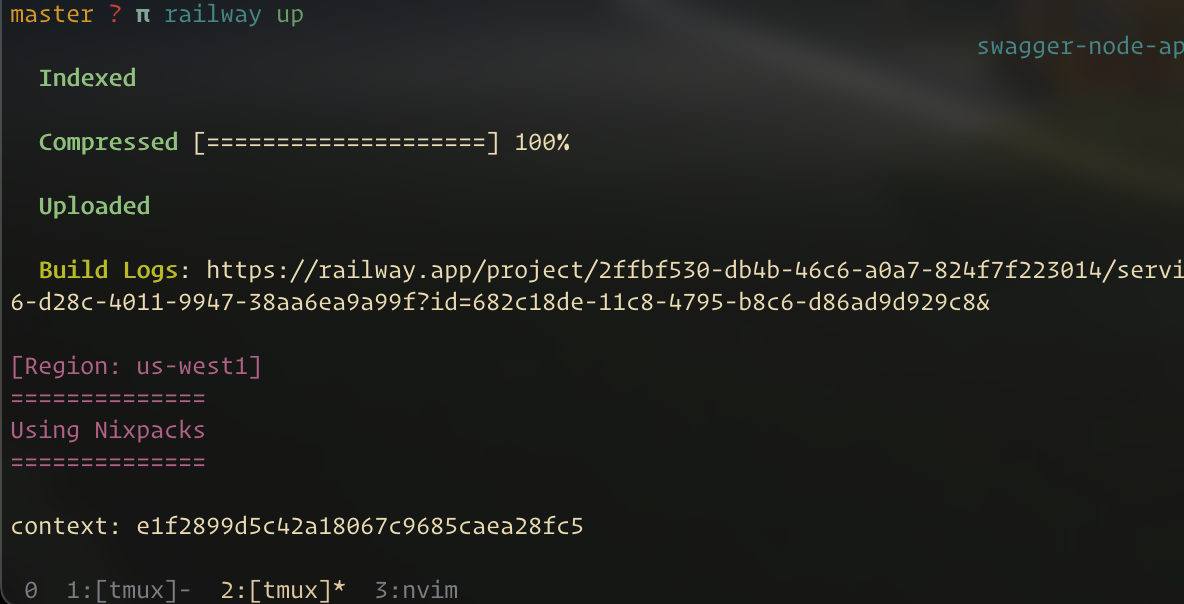
2. Deploy Node App
Running railway up will deploy your railway project to a railway service. This will build and deploy your linked project.
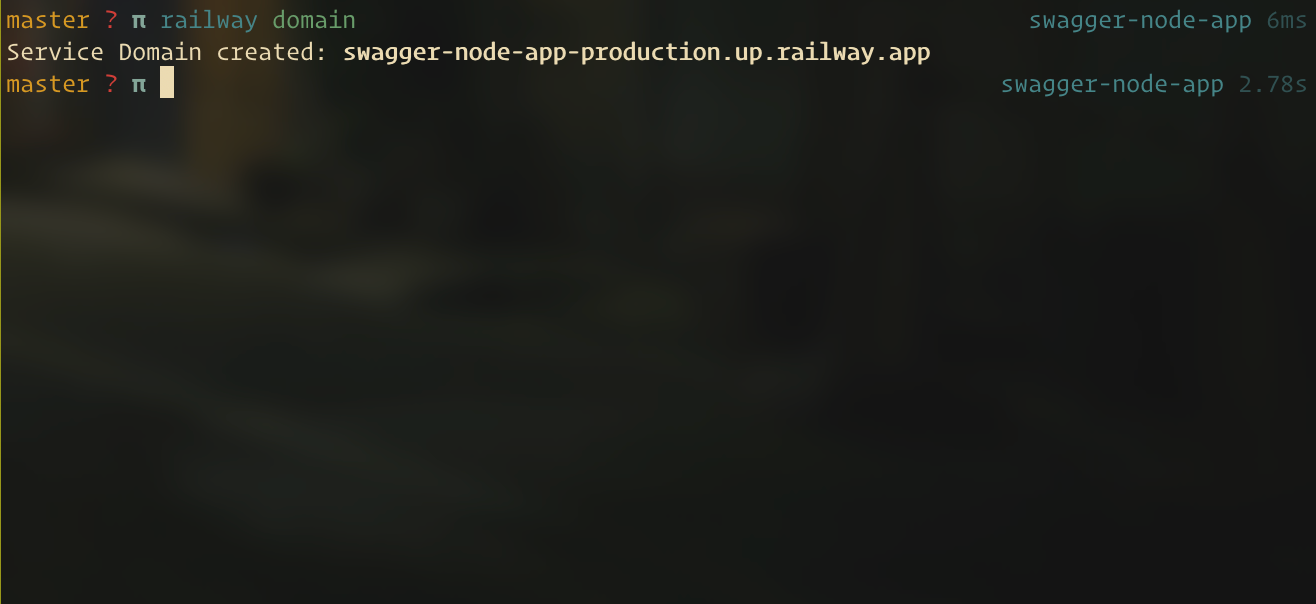
3. Expose our Railway App
Your deployed railway app can only be accessed internally on railway by other project services by default. Running railway domain generates a domain for your app and exposes it.
4. Open Railway App
Finally, you can open your application in the browser by visiting the url returned after running the previous step, in this case: https://swagger-node-app-production.up.railway.app
Conclusion
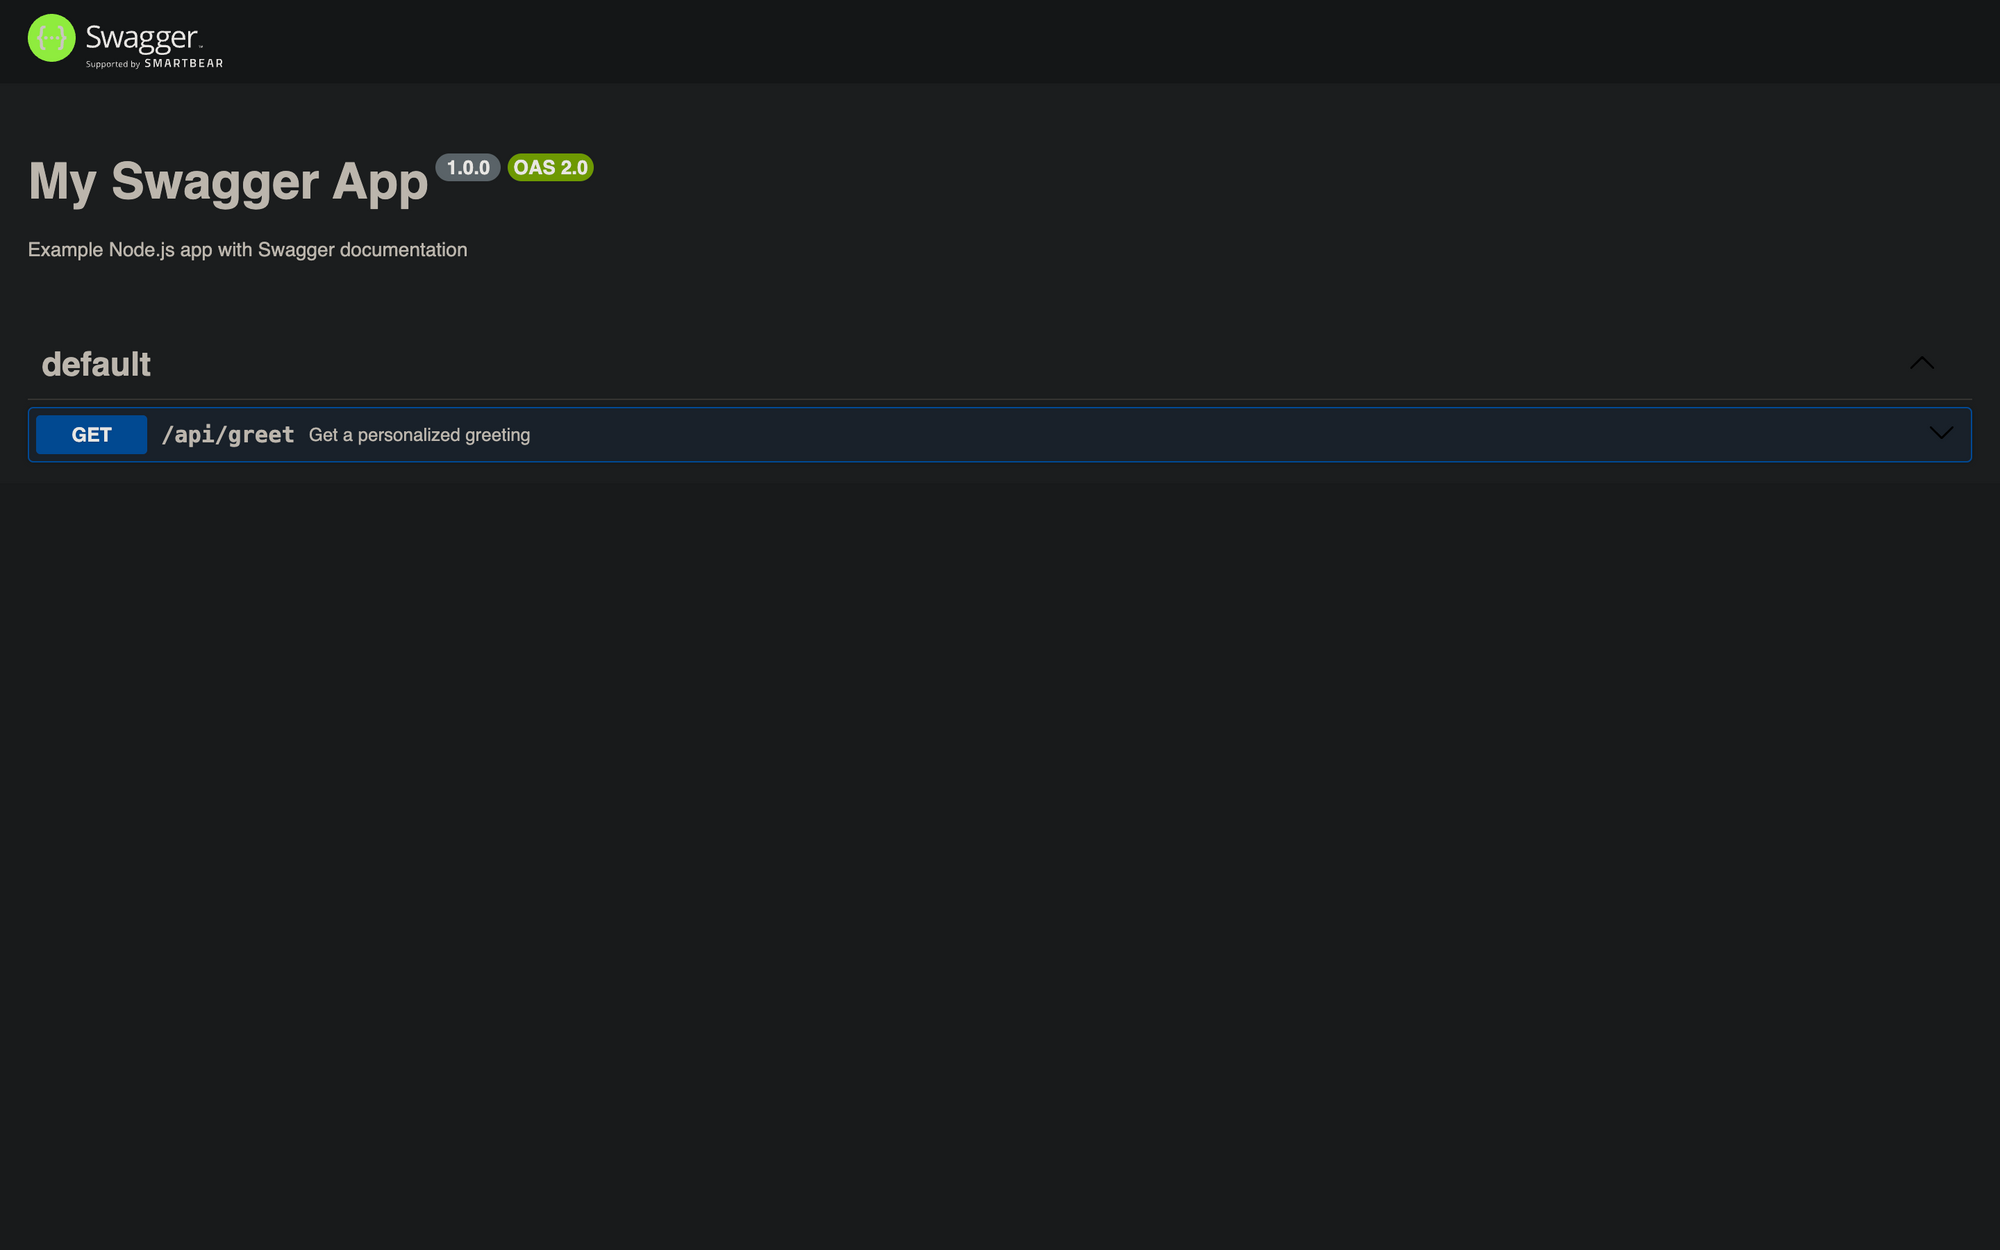
Once your application is deployed, you can access the Swagger UI at the /api-docs endpoint of your application by navigating to https://swagger-node-app-production.up.railway.app/api-docs